Are you ready to craft stunning resin coasters that wow your friends and elevate your home décor? Creating DIY resin coasters is easier than you think, and with the right materials, like Blissam’s epoxy resin, you’ll get flawless results every time.
As a crafting enthusiast, I’ve poured my heart into mastering resin art for beginners, and I’m sharing my insider tips to help you create custom resin coasters that shine. Whether you’re dreaming of geode designs or ocean-inspired patterns, this guide has you covered.
Let’s dive into the resin coaster tutorial and spark your creativity!
Why Choose Resin Coasters for Home Décor and Gifts
Resin coasters have become a popular choice for durable, customizable, and unique home décor and gifts. Their appeal lies in the ability to create fully personalized designs that add a distinctive touch to any living space. Whether for everyday use, special occasions, or thoughtful presents, resin coasters combine functionality with artistic expression, making them ideal for both hobbyists and entrepreneurs.
One standout feature of resin coasters is their long-lasting durability. Unlike traditional materials, resin provides a waterproof, heat-resistant surface that withstands daily wear and tear, ensuring your creations stay vibrant and intact for years.
Using Blissam’s high-quality epoxy resin elevates your resin coaster projects with remarkable clarity and strength. This premium resin offers an easy-to-use formula that mixes smoothly and cures to a crystal-clear finish free from yellowing or cloudiness. Its reliable performance makes crafting resin coasters accessible and enjoyable—perfect for beginners and experienced artists alike.
Resin coasters are currently trending beyond personal use. They are popular as stylish home décor accents, thoughtful gifts for friends and family, and even potential products for small business ventures. Many creators are expanding their offerings with custom resin coaster designs featuring embedded glitter, dried flowers, or pigments, making each piece truly one-of-a-kind.
With Blissam epoxy resin, you can confidently explore the versatility of resin coaster crafts—combining beauty, durability, and creativity in every project.
Materials You’ll Need to Make Resin Coasters
Essential Supplies for DIY Resin Coasters
To get started with making resin coasters, you’ll want the right materials to ensure a smooth and successful project:
- Epoxy resin and hardener: For beginners, I recommend using Blissam’s clear epoxy resin. It’s easy to mix, crystal clear, and perfect for achieving a professional look.
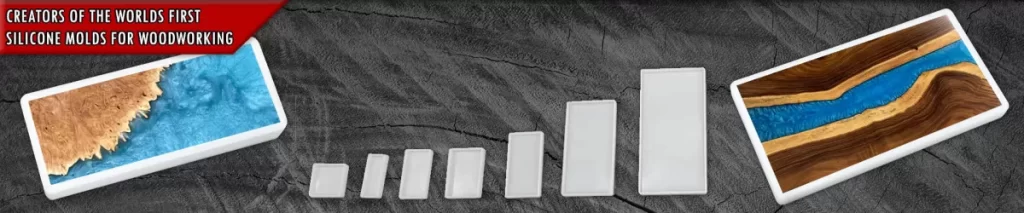
- Silicone coaster molds: These flexible molds make demolding easy and help you get perfect coaster shapes every time.
- Measuring cups and mixing tools: Accurate measuring and thorough mixing are key to avoiding bubbles and curing issues.
- Protective gear: Gloves, masks, and sometimes safety glasses are essential to keep you safe from resin exposure.
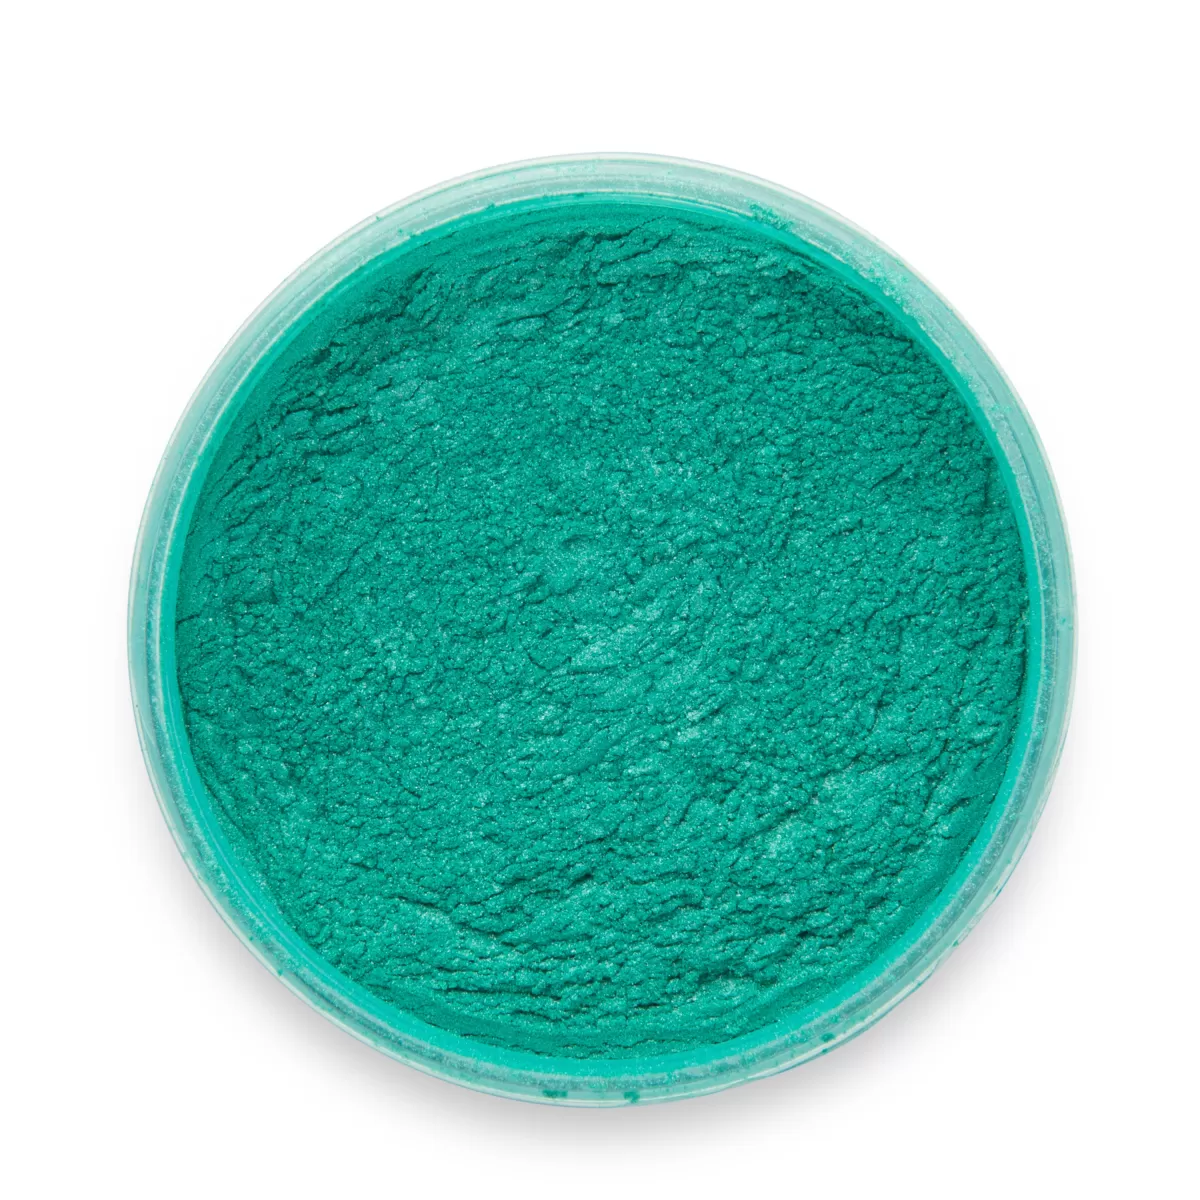
- Optional customization supplies: Want to add pigments, glitter, dried flowers, or other embeds? These let you create unique, personalized coaster designs to match any style or gift idea.
Why Quality Matters in Resin Coaster Supplies
Using high-quality resin like Blissam’s epoxy resin isn’t just about getting a crystal-clear finish — it also prevents yellowing over time and boosts the durability of your finished coasters. Lower-quality resins often yellow or get brittle, ruining your hard work. For resin crafts that last, especially coasters that need to handle moisture and daily use, investing in a trusted brand makes all the difference.
Plus, high-grade resin cures more reliably and is less prone to bubbles or stickiness, meaning you’ll get better results with less frustration. This is especially important if you’re just starting out with epoxy resin crafts or thinking about selling your coasters locally here in the US.
Blissam epoxy resin is designed with these needs in mind, making it a smart choice for both hobbyists and small business makers.
Step-by-Step Guide to Making Resin Coasters with Epoxy Resin
Creating your own DIY resin coasters is easier than you might think. Follow these simple steps to get clear, durable, and customized resin coasters using Blissam’s high-quality epoxy resin.
Step 1 Prepare Your Workspace
- Set up a clean, well-ventilated area. Cover your workspace with disposable plastic or craft paper to catch spills.
- Wear protective gear like gloves and a mask to avoid skin contact and inhaling fumes from the resin.
Step 2 Measure and Mix the Resin
- Measure your resin and hardener carefully in a 1 to 1 ratio using precise measuring cups. This is crucial for proper curing.
- Stir slowly for at least 3 minutes to blend the components thoroughly without introducing bubbles.
Step 3 Add Customizations
- Add pigments, glitter, dried flowers, or other embeds to the mixed resin to create one-of-a-kind designs.
- For special effects like marbling or geode patterns, try layering different colors or swirling them gently before pouring.
Step 4 Pour Into Silicone Molds
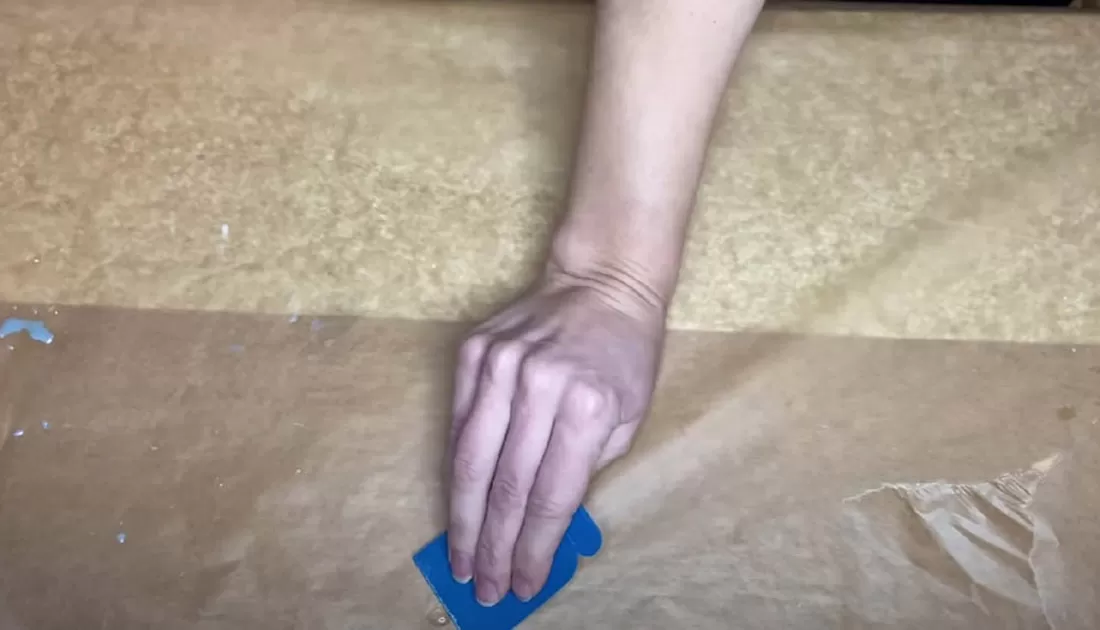
- Slowly pour your resin mix into silicone coaster molds to avoid overflow and spillage.
- Use a toothpick or a small heat gun to pop any air bubbles on the surface for a smooth, polished finish.
Step 5 Cure and Demold
- Let the resin cure for 24 to 48 hours in a dust-free zone—this ensures your coasters harden properly without imperfections.
- Once fully cured, gently remove your coasters from the molds to avoid any damage.
Step 6 Sand and Polish Optional
- To achieve a smooth professional look, sand the coaster edges lightly with fine-grit sandpaper.
- If you want an extra shine and durable finish, apply a clear coat over the coaster’s surface.
By following these steps with Blissam’s clear epoxy resin, you’ll create custom resin coasters that are crystal clear, strong, and built to last. For more on sanding techniques, check out our guide on how to sand epoxy resin.
Tips for Perfect Resin Coasters

Making resin coasters that look professional and last long takes a bit of practice. Here are some easy-to-follow tips to help you get it right:
Avoid Common Mistakes
- Mix Resin Properly: Follow the 1:1 ratio exactly for Blissam’s clear epoxy resin and hardener. Improper mixing can cause sticky or soft spots.
- Stir Slowly and Thoroughly: This reduces air bubbles that ruin the smooth finish.
- Keep Dust Away: Work in a clean, covered space to avoid dust settling on the resin while it cures.
Get Creative with Designs
- Try popular styles like geode patterns, ocean waves, or minimalist looks.
- Use layering techniques or add glitter, pigments, and dried flowers to create unique effects.
- Experiment with pouring methods to get marbling or swirling patterns.
Use UV-Resistant Resin
- Choose Blissam’s UV-resistant epoxy resin to keep your coasters crystal clear and prevent yellowing over time.
- This is especially important for coasters used regularly or exposed to sunlight.
By following these tips and using quality materials like Blissam’s epoxy resin, your DIY resin coasters will look great and stand the test of time.
Caring for Your Resin Coasters Cleaning and Storage Tips
To keep your DIY resin coasters looking fresh and clear, proper care is key. Here’s how to handle cleaning and storage to protect your custom resin pieces:
Cleaning Resin Coasters
- Use mild soap and warm water for routine cleaning. Harsh cleaners can damage the glossy finish or cause cloudiness.
- Avoid abrasive sponges or scrubbers. These can scratch the surface and dull the shine.
- Gently wipe with a soft cloth or sponge to remove spills or stains without harming the resin.
- For sticky or stubborn spots, soak briefly in soapy water rather than scrubbing hard.
Storing Resin Coasters
- Keep resin coasters out of direct sunlight to prevent yellowing over time, even if you use high-quality UV-resistant epoxy resin like Blissam’s.
- Store them flat in a dust-free area when not in use to avoid scratches or dust settling on the surface.
- If stacking coasters, place soft felt pads or a thin cloth between them to protect edges and maintain their polished look.
By following these simple yet effective cleaning and storage tips, you’ll preserve the clarity, durability, and beauty of your custom resin coasters for years ahead.
Why Choose Blissam Epoxy Resin for Your Resin Coasters
When it comes to making DIY resin coasters, the quality of your epoxy resin makes all the difference. Blissam’s clear epoxy resin stands out for several key reasons:
- Crystal-clear finish: Blissam resin offers excellent clarity, allowing your coaster designs—whether pigments, glitter, or natural embeds—to shine without cloudiness.
- Easy-to-mix formula: The 1:1 resin-to-hardener ratio simplifies mixing, reducing mistakes and saving you time during your project.
- Durability you can trust: This resin resists yellowing and stays strong over time, meaning your custom resin coasters will keep looking fresh even after regular use.
- Safe and eco-conscious: Blissam is committed to safety, allowing you to work with confidence. Many of their products come with eco-friendly certifications, helping keep your workspace safer and your footprint smaller.
Whether you’re making resin art for beginners or expanding a small business with custom resin coasters, choosing Blissam means investing in a reliable, high-quality product.
Ready to start your next resin project? Shop Blissam’s epoxy resin today and create stunning, long-lasting resin coasters with ease.
FAQs About Making Resin Coasters
How long does it take for resin coasters to cure
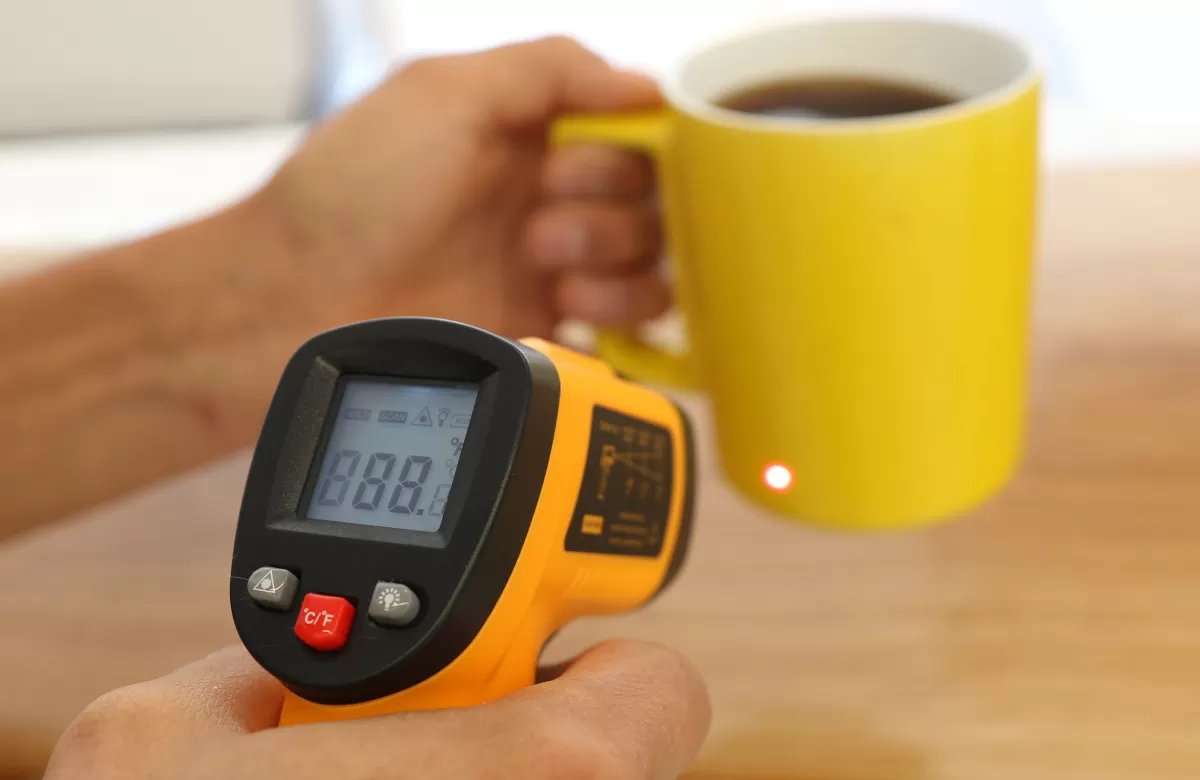
Most resin coasters need about 24 to 48 hours to fully cure. Temperature and humidity can affect curing time, so it’s best to let them sit in a dust-free, well-ventilated area. Avoid touching or moving the molds during this time to ensure a smooth, clear finish.
Can I use food-safe resin for coasters
Yes, using food-safe epoxy resin is recommended for coasters if they will come in contact with drinks or snacks. Look for resins that specifically mention FDA approval or food safety on the label. Blissam’s clear epoxy resin is formulated for durability and clarity but check if the product meets your exact food safety needs.
What’s the best resin for beginners
For beginners, a clear, easy-to-mix epoxy resin like Blissam’s is ideal. It has a 1:1 mixing ratio and is designed to reduce bubbles, yellowing, and curing issues. This makes it straightforward to work with, even if you’re new to resin crafts.
How do I avoid bubbles in my resin coasters
To minimize bubbles:
- Mix resin slowly to avoid whipping air in.
- Pour resin gently into molds.
- Use a toothpick or heat gun to pop any air bubbles on the surface.
- Let mixed resin sit for a few minutes before pouring to let bubbles rise and break.
Can I add embeds like photos or fabric
Yes, you can add embeds like photos, fabric, dried flowers, or glitter for a custom touch. Just make sure embeds are completely dry and sealed if necessary to prevent discoloration or resin cloudiness. Place them carefully in the mold before pouring resin, and consider adding resin in layers if your embed might float.
Get Creative with Your Next Resin Project
Once you’ve mastered making DIY resin coasters, why stop there? Resin is a super versatile material that opens up tons of creative possibilities.
Try Other Resin Crafts
- Make jewelry trays, keychains, or decorative bowls.
- Experiment with different silicone molds and epoxy resin supplies from Blissam.
- Use pigments, glitters, or natural embeds like dried flowers to create one-of-a-kind pieces.
Join Resin Art Communities
- Connect with fellow resin crafters on social media platforms like Instagram, Facebook, or TikTok.
- Share your creations, get feedback, and learn new techniques.
- Follow trending resin coaster designs and epoxy resin crafts ideas for inspiration.
Explore Blissam’s Resin Products
Blissam offers a full range of clear epoxy resin and accessories designed for both beginners and pros. Their products deliver durable, crystal-clear finishes that make every project shine.
Ready to dive deeper? Shop Blissam’s epoxy resin collection today and unlock endless crafting possibilities.