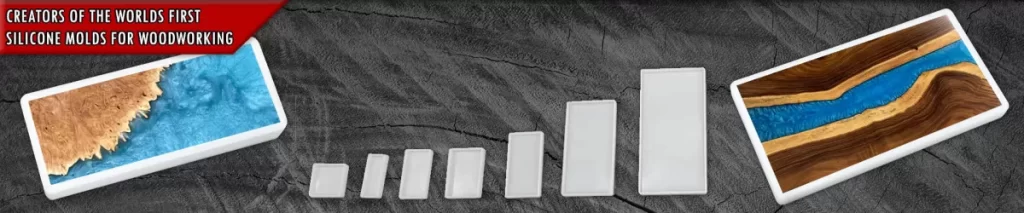
Why Cleaning Silicone Molds Matters for Resin Crafting
Keeping your silicone molds clean is essential for resin clarity and mold longevity. Even tiny bits of leftover resin or dust can cloud your finished pieces, making them look dull or flawed. Over time, residue buildup affects the smooth surface of the mold, which directly impacts how clear and professional your resin projects turn out.
Silicone’s non-stick properties are one of its biggest advantages. But if molds aren’t cleaned properly, these properties start to wear down. Sticky resin fragments or dust left inside can cause your cured resin to stick more, making demolding a hassle and increasing the risk of damaging both your piece and the mold.
Maintaining your silicone molds is also a real money saver. Regular cleaning helps extend the life of your molds, so you don’t have to replace them frequently. Investing a few minutes in proper care means fewer purchases down the line and less frustration when your resin projects come out perfect every time.
In short, clean silicone molds lead to clearer resin, easier releases, and longer-lasting tools — all key to smooth, cost-effective resin crafting.
Tools and Materials Needed to Clean Silicone Molds for Resin
When it comes to cleaning silicone molds for resin, having the right tools and materials makes all the difference. Most of what you need is probably already around your home.
Basic Household Items
- Warm water – Use warm, not hot, to protect the mold’s integrity
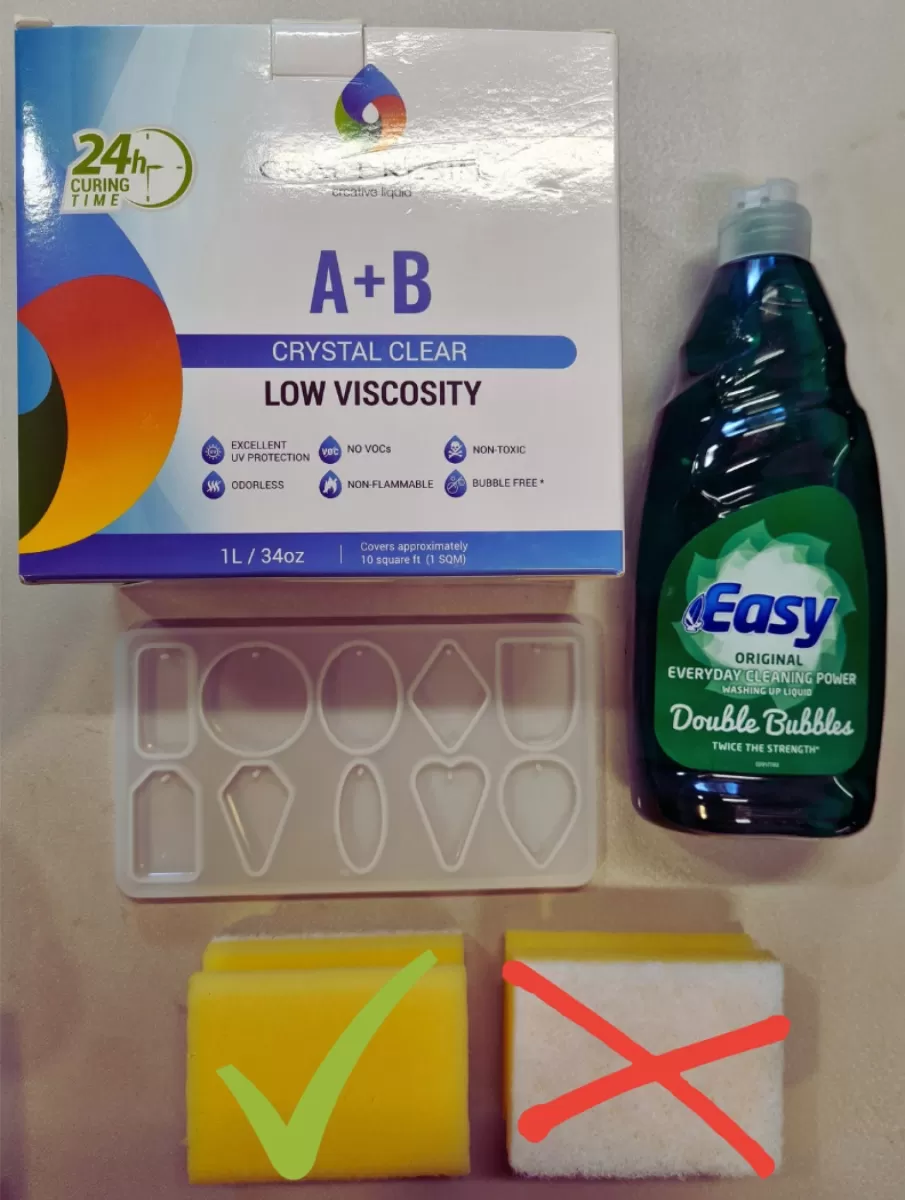
- Mild dish soap – Helps break down resin residue without harsh chemicals
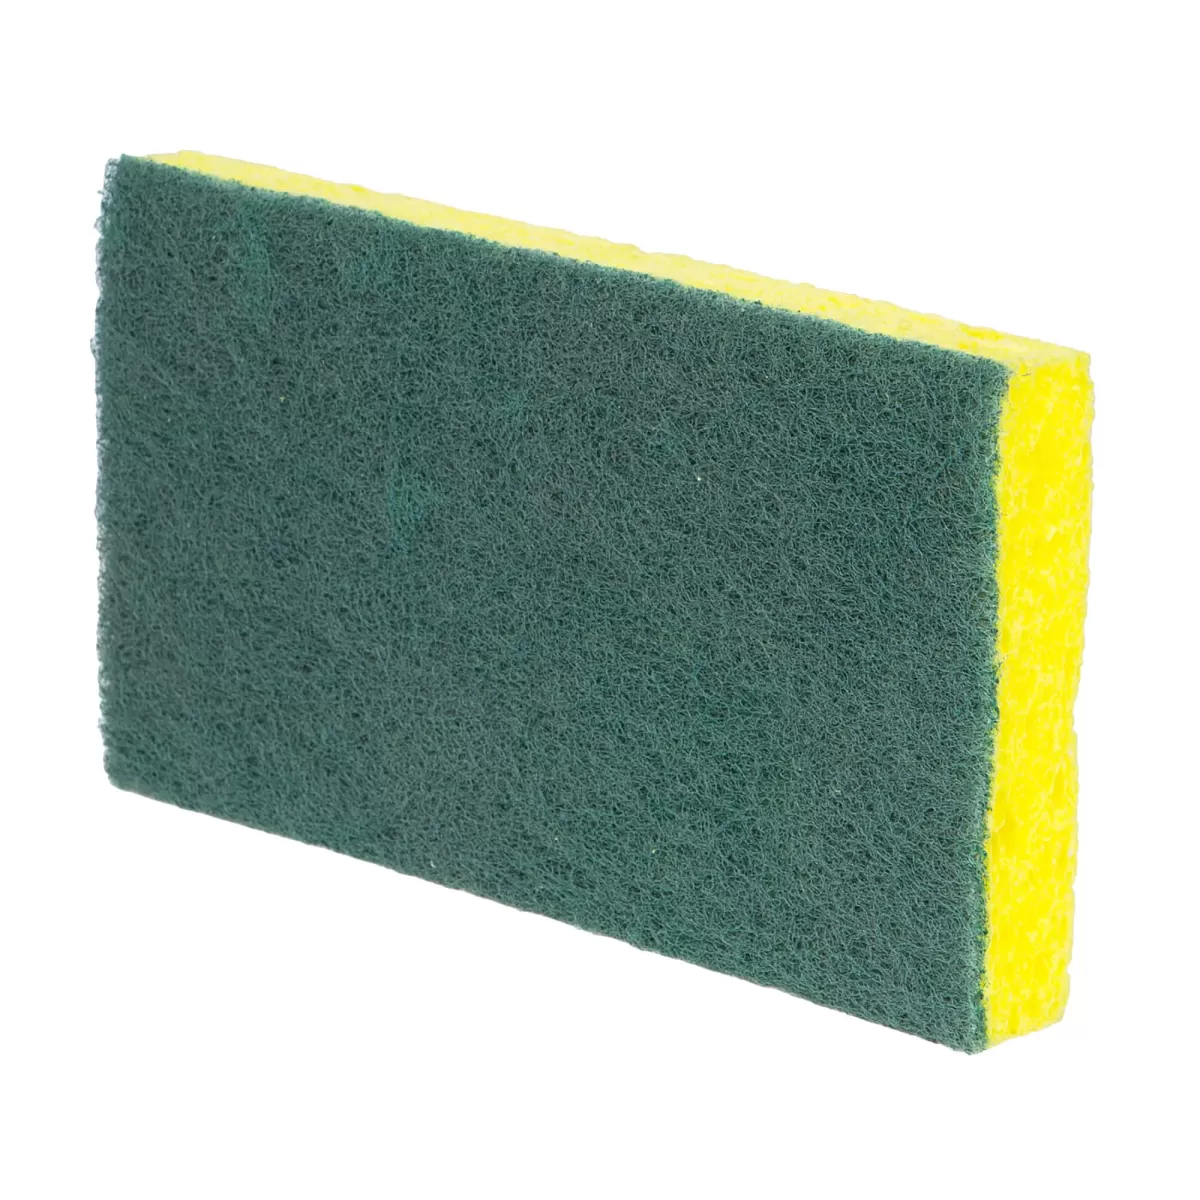
- Soft brushes or sponges – To gently scrub without scratching the silicone
- Lint-free cloths – Perfect for drying molds without leaving fibers behind
Optional Cleaning Helpers
- Adhesive tape – Great for lifting tiny bits of glitter or dust stuck in molds
- Baby wipes – Useful for quick wipe-downs but check they’re alcohol-free to avoid damage
- Isopropyl alcohol (alcohol-free versions preferred) – Works well on sticky spots; use sparingly and avoid soaking
- Acetone – Only as a last resort and with caution, since it can degrade silicone if overused
Specialty Products for Mold Care
- Mold release sprays – These sprays help keep your molds non-stick and make cleaning easier
- Silicone conditioners or oils – Using sparingly can extend mold life by maintaining flexibility
Safety Gear and Precautions
- Gloves – Always wear gloves when handling solvents like isopropyl alcohol or acetone
- Good ventilation – Use chemicals in a well-ventilated area to avoid inhaling fumes
- Avoid mixing chemicals to keep your workspace and mold safe
Having these tools and materials ready means you can keep your molds clean and in good shape, helping you get the clearest resin casts and longest use from your silicone molds.
For specialty silicone products like mold release agents or silicone rubber for mold making, check out our range at Silicone Rubber for Mold.
Step-by-Step Guide to Cleaning Silicone Molds for Resin
Step 1 Pre-Cleaning Prep
Before you start washing your silicone mold, gently remove any cured resin by hand or use a soft plastic scraper. Avoid metal tools that can damage the mold’s surface. After that, take some adhesive tape (like painter’s tape) and lightly press it on the mold to lift off dust, glitter, or tiny debris that can affect resin clarity.
Step 2 Primary Cleaning with Soap and Water
Fill a basin with warm (not hot) water and mild dish soap. Soak your silicone molds for a few minutes to loosen residue. Using a soft sponge or soft-bristled brush, gently scrub the mold — this keeps the mold’s non-stick surface intact. Once clean, rinse thoroughly with clean water to remove any soap residue that could interfere with your next resin pour.
Step 3 Tackling Stubborn Residue
If some sticky spots or cured resin remain:
- Use a cloth with isopropyl alcohol to gently wipe the trouble areas. Be careful not to soak the mold or leave alcohol on it too long, as it can affect the silicone.
- Try the freezer method: Place the mold in the freezer for 30-60 minutes to harden any uncured resin. It should pop out easily after.
- Acetone should be your absolute last resort. Apply it sparingly with a paper towel on sticky spots, then rinse immediately. Excess acetone can degrade the silicone over time.
Step 4 Drying and Storage
Let your silicone molds air-dry completely on a lint-free surface to avoid leaving fibers behind. If you want faster drying, use a heat gun on low — just don’t overheat or warp the mold. Once dry, store molds flat in ziplock bags or dust-free containers to keep them clean and prevent bending or damage between uses.
Keeping this routine helps maintain your silicone molds’ non-stick surface, extends mold life, and keeps your resin projects crystal clear and flawless.
Common Mistakes to Avoid When Cleaning Silicone Molds for Resin
Keeping your silicone molds in good shape means knowing what not to do. Avoid these common mistakes to protect your molds and get the best results with your resin projects:
-
Using abrasive tools like steel wool or rough scrubbers can scratch and damage the silicone surface. This ruins the mold’s non-stick properties and reduces its lifespan.
-
Overusing solvents such as acetone can cause the silicone to break down over time. Use acetone sparingly and only as a last resort, never for regular cleaning.
-
Exposing molds to excessive heat is a big no. Avoid boiling water, direct flame, or heat guns set too high, as extreme heat can warp or weaken your silicone molds.
-
Storing molds in direct sunlight or under pressure can deform their shape. Keep molds flat, dust-free, and in a cool, shaded place to maintain their form.
Avoiding these pitfalls helps you extend the life of your epoxy resin mold care routine and keeps your molds ready for clean, easy resin crafting every time.
Pro Tips for Silicone Mold Maintenance and Resin Mold Care
Keeping your silicone molds in top shape is key to getting clear, smooth resin pieces every time. Here are some straightforward tips for clean resin molds and extending their life:
-
Apply a mold release spray before pouring resin
This helps resin come out cleanly without sticking, making demolding easier and protecting the mold’s surface.
-
Clean molds before and after every use
Dust and leftover resin bits can build up quickly. Wiping molds down before and right after use keeps them free of debris and prevents sticky residue.
-
Inspect molds regularly for wear
Look for discoloration, cracks, or damage. When a mold shows signs of wear, replace it to avoid ruining your resin projects.
-
Use silicone oil sparingly to condition molds
A light application can help maintain the non-stick silicone surface and extend the mold’s lifespan, but too much can affect resin curing.
Following these resin crafting tips will save you money by slowing down mold degradation and ensuring your molds perform well for many uses. This approach makes silicone mold maintenance both simple and cost-effective for users in the U.S. market.
FAQs on Cleaning Silicone Molds for Resin
Can I use a dishwasher to clean silicone molds
Dishwashers are generally not recommended for cleaning silicone resin molds. The high heat and strong detergents can warp or degrade the silicone, affecting its non-stick properties. Stick to warm water and mild dish soap for safe mold cleaning methods.
How do I remove uncured resin safely
To remove uncured resin, try these steps:
- Freeze the mold for 30-60 minutes to harden the resin, then gently peel it off.
- Use isopropyl alcohol on a lint-free cloth to wipe sticky bits—avoid soaking the mold.
- As a last resort, apply a small amount of acetone carefully, then rinse thoroughly.
Always wear gloves and work in a ventilated area when using chemicals.
Will cleaning affect the mold’s shine
Proper cleaning with mild soap and soft brushes won’t dull your silicone molds. Avoid abrasive tools or harsh chemicals like acetone, as they can degrade the silicone’s smooth surface and reduce clarity. Regular cleaning actually helps maintain the non-stick surface and shine.
How often should I replace silicone molds
Silicone molds can last a long time with good maintenance, but consider replacing them if you notice:
- Visible cracks, discoloration, or sticking problems
- Loss of flexibility or mold deformation
- Frequent resin sticking despite cleaning and using mold release sprays
Replacing molds timely ensures consistent resin results and saves you money in the long run compared to dealing with damaged molds.